How to Repair a Failed Lead Inspection Area
====================================================
Hey there, DIY enthusiast. Are you dealing with a failed lead inspection area and don’t know where to start? Don’t worry, we’ve got you covered. In this article, we’ll walk you through the steps on how to repair a failed lead inspection area.
What is a Lead Inspection Area?
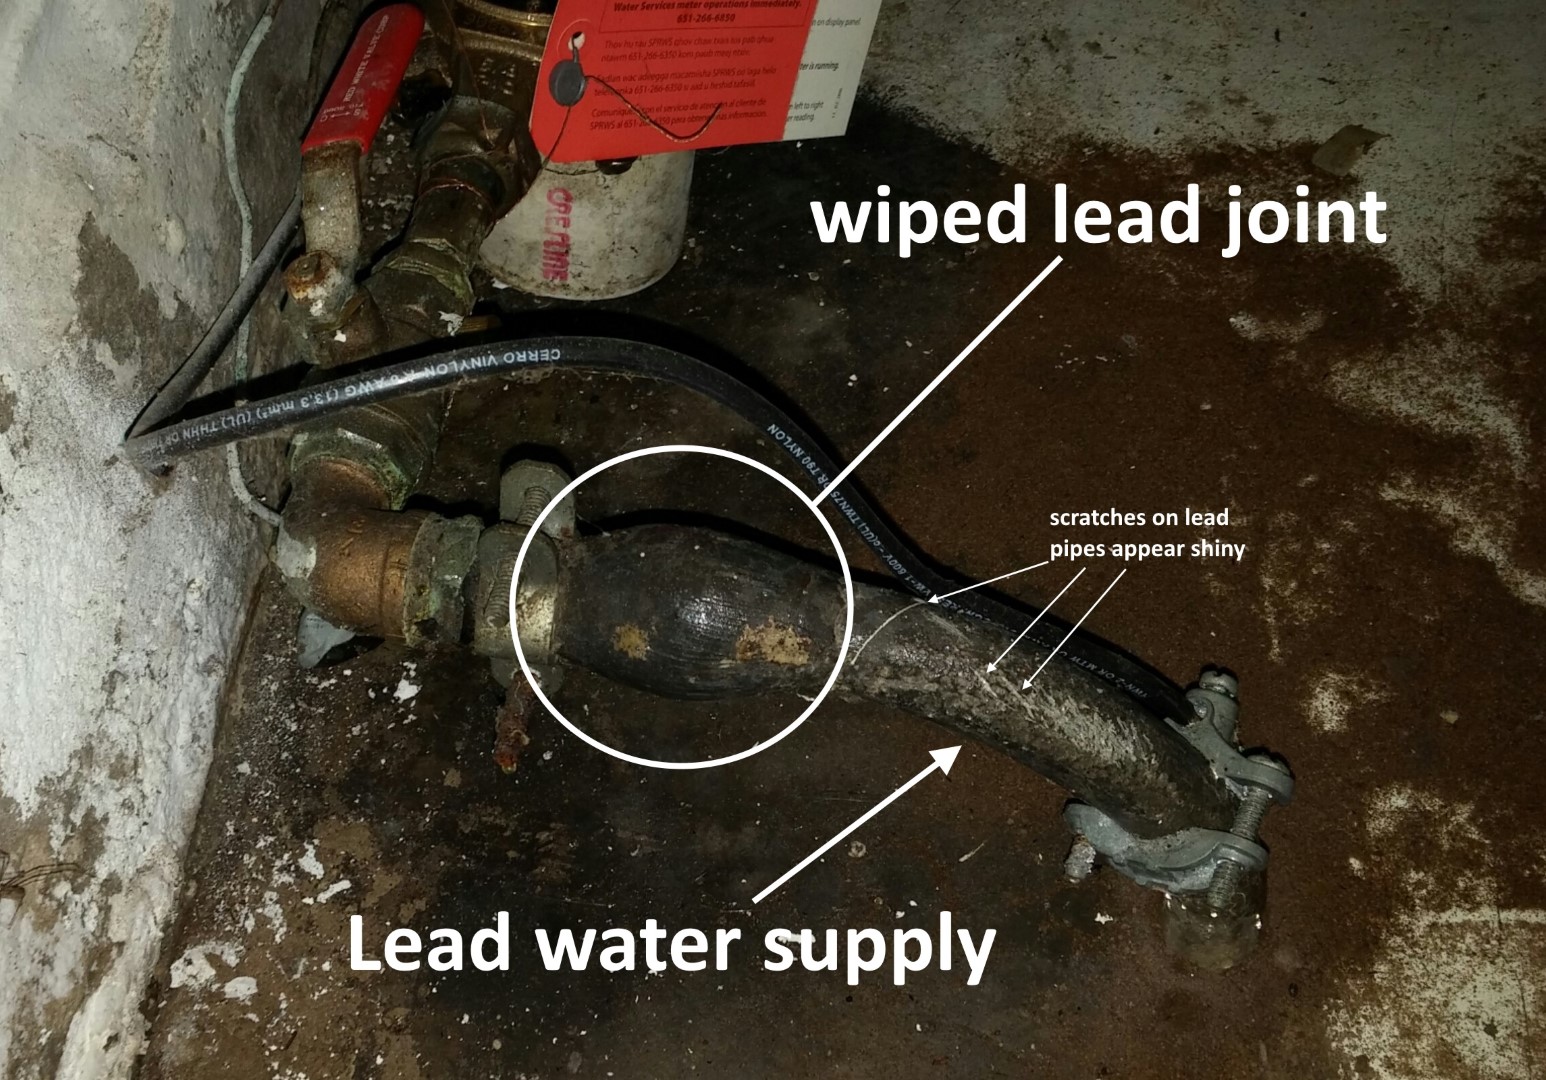
Before we dive into the repair process, let’s first understand what a lead inspection area is. A lead inspection area is a designated space where lead-based paint is inspected and tested for safety. These areas are usually found in older homes and buildings, and are a crucial part of maintaining a safe and healthy environment.
Why Do Lead Inspection Areas Fail?
So, why do lead inspection areas fail? Well, there are a few reasons why this might happen. Here are some of the most common causes:
- Poor Maintenance: Lead inspection areas that are not properly maintained can fail over time. This can include failing to inspect and test the area regularly, or not addressing any issues that arise.
- Water Damage: Water damage can cause lead-based paint to deteriorate, leading to a failed inspection.
- Age: Lead inspection areas can simply fail due to age. Over time, the lead-based paint can break down, causing the area to fail.
Preparing for the Repair
Before you start the repair process, there are a few things you’ll need to do to prepare. Here’s a step-by-step guide on how to repair a failed lead inspection area:
Gather Your Materials
- Lead paint test kit: This will help you determine the level of lead in the paint.
- Sandpaper: You’ll need this to sand down the surface.
- Primer: A good primer will help the new paint adhere to the surface.
- Lead-based paint: This will be used to recoat the surface.
- Drop cloths: These will protect the surrounding area from paint and debris.
- Safety gear: Make sure you have gloves, a mask, and safety glasses to protect yourself from lead exposure.
Assess the Damage
- Take a closer look: Inspect the area to determine the extent of the damage. Look for any areas where the lead-based paint is deteriorating or flaking off.
- Test the paint: Use your lead paint test kit to determine the level of lead in the paint. This will help you decide the best course of action.
Repairing the Failed Lead Inspection Area
Now that you’ve prepared for the repair, it’s time to get started. Here’s a step-by-step guide on how to repair a failed lead inspection area:
Step 1: Contain the Area
- Use drop cloths: Protect the surrounding area from paint and debris by laying down drop cloths.
- Seal off the area: Use tape and plastic sheets to seal off the area, preventing lead dust and debris from spreading.
Step 2: Clean the Area
- Use a HEPA vacuum: Clean the area with a HEPA vacuum to remove any lead dust and debris.
- Wipe down the surface: Use a damp cloth to wipe down the surface, removing any remaining dust and debris.
Step 3: Sand Down the Surface
- Use sandpaper: Sand down the surface to smooth out any rough spots and remove any remaining lead-based paint.
- Wipe down the surface: Use a damp cloth to wipe down the surface, removing any remaining dust and debris.
Step 4: Apply Primer
- Use a good primer: Apply a good primer to the surface, helping the new paint adhere.
- Let it dry: Let the primer dry according to the manufacturer’s instructions.
Step 5: Apply Lead-Based Paint
- Use lead-based paint: Apply lead-based paint to the surface, recoating the area.
- Let it dry: Let the paint dry according to the manufacturer’s instructions.
Safety Precautions to Take
When repairing a failed lead inspection area, it’s essential to take safety precautions to avoid lead exposure. Here are some tips to keep in mind:
Wear Safety Gear
- Gloves: Wear gloves to protect your skin from lead exposure.
- Mask: Wear a mask to prevent inhaling lead dust and debris.
- Safety glasses: Wear safety glasses to protect your eyes from lead dust and debris.
Work in a Well-Ventilated Area
- Open windows: Open windows to ensure good ventilation and prevent lead dust and debris from accumulating.
- Use a fan: Use a fan to circulate the air and prevent lead dust and debris from spreading.
Disposing of Lead-Based Paint and Debris
When repairing a failed lead inspection area, it’s essential to dispose of lead-based paint and debris properly. Here are some tips to keep in mind:
Use a Sealable Container
- Use a sealable container: Place all lead-based paint and debris in a sealable container, preventing it from spreading.
- Label the container: Label the container clearly, indicating that it contains lead-based paint and debris.
Dispose of the Container Properly
- Check with local authorities: Check with local authorities to determine the best way to dispose of the container.
- Dispose of the container: Dispose of the container properly, following local regulations and guidelines.
Conclusion
Repairing a failed lead inspection area can be a daunting task, but with the right materials and safety precautions, it’s definitely doable. Remember to follow the steps outlined in this article on how to repair a failed lead inspection area, and always prioritize your safety and the safety of those around you.