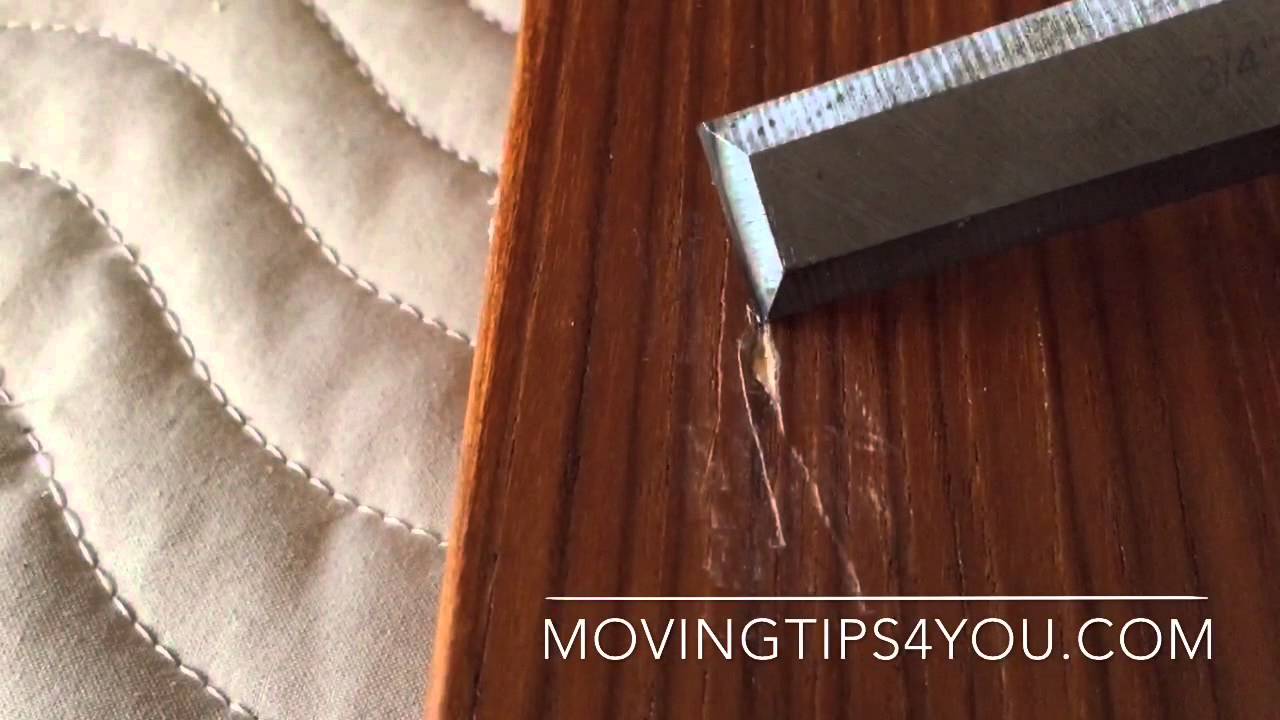
How to Repair Veneer like a Pro: A Step-by-Step Guide

=====================================================
Hey there, folks. If you’re dealing with damaged veneer, don’t worry, we’ve got you covered. In this article, we’ll show you how to repair veneer like a pro. Whether it’s a scratched, dented, or loose veneer, we’ll walk you through the process of fixing it.
What is Veneer?
Before we dive into the repair process, let’s talk about what veneer is. Veneer is a thin layer of wood, usually applied to a substrate like MDF or plywood, to give it a decorative surface. It’s commonly used in furniture making, cabinetry, and woodworking. Veneer can be made from various types of wood, including hardwoods and softwoods.
Types of Veneer Damage
There are several types of veneer damage, including:
- Scratches: minor scratches can be easily repaired with a scratch remover or touch-up pen.
- Dents: dents can be more challenging to repair, but it’s still possible to fix them with some basic woodworking skills.
- Loose veneer: if the veneer is loose or peeling, it’s essential to reattach it securely to prevent further damage.
Tools and Materials Needed
To repair veneer, you’ll need the following tools and materials:
- Wood glue
- Veneer patch (optional)
- Sandpaper
- Paint or stain (optional)
- Polyurethane
- Clamps
- A putty knife or similar tool for applying glue and smoothing out the surface
Step-by-Step Guide to Repairing Veneer
How to Repair Scratched Veneer
Scratches on veneer can be repaired using a scratch remover or touch-up pen. Here’s a step-by-step guide:
- Clean the area around the scratch with a soft cloth to remove any dirt or debris.
- Apply a small amount of scratch remover or touch-up pen to the scratch.
- Use a soft cloth to rub the scratch remover or touch-up pen into the scratch.
- Wipe away any excess scratch remover or touch-up pen with a clean cloth.
- Inspect the scratch to see if it’s still visible. If it is, repeat the process until the scratch is gone.
How to Repair Dented Veneer
Dents on veneer can be more challenging to repair, but it’s still possible to fix them with some basic woodworking skills. Here’s a step-by-step guide:
- Assess the dent to determine the best course of action. If the dent is shallow, you can try filling it with wood filler. If it’s deeper, you may need to use a veneer patch.
- Clean the area around the dent with a soft cloth to remove any dirt or debris.
- Apply a small amount of wood filler to the dent.
- Use a putty knife or similar tool to smooth out the wood filler.
- Allow the wood filler to dry according to the manufacturer’s instructions.
- Sand the area to smooth out the surface.
- If necessary, apply a small amount of polyurethane to the area to protect the veneer.
How to Repair Loose Veneer
Loose veneer can be reattached using a combination of wood glue and clamps. Here’s a step-by-step guide:
- Clean the area around the loose veneer with a soft cloth to remove any dirt or debris.
- Apply a small amount of wood glue to the back of the veneer.
- Use clamps to hold the veneer in place while the glue dries.
- Allow the glue to dry according to the manufacturer’s instructions.
- Inspect the veneer to ensure it’s securely attached.
Tips and Tricks
Here are some tips and tricks to keep in mind when repairing veneer:
- Always test a small, inconspicuous area of the veneer before applying any repair products.
- Use a dust mask when sanding to avoid inhaling dust and debris.
- Apply a small amount of polyurethane to the repaired area to protect the veneer.
- Consider using a veneer patch if the damage is extensive.
How to Prevent Veneer Damage
To prevent veneer damage, follow these tips:
- Avoid placing heavy objects on veneered surfaces.
- Use coasters or placemats to protect the surface from spills and water marks.
- Avoid exposing veneered surfaces to direct sunlight or extreme temperatures.
Conclusion
Repairing veneer can be a challenging task, but with the right tools and materials, you can how to repair veneer like a pro. Remember to assess the damage, clean the area, and apply the right repair products to fix the issue. With these tips and tricks, you’ll be able to repair veneer like a pro.
By following this guide, you’ll be able to how to repair veneer and keep your furniture, cabinets, and other wooden items looking their best. So next time you notice a scratch, dent, or loose veneer, don’t panic – just grab your tools and get to work.
In conclusion, how to repair veneer is a skill that’s easy to learn, and with practice, you’ll become a pro in no time.