How to Repair Cast Iron: A Step-by-Step Guide
====================================================================
Yo, what’s up guys? Are you tired of using flimsy, non-stick pans that can’t even handle high heat? Cast iron is the way to go, bro. But sometimes, these heavy-duty pans can get damaged. Don’t sweat it, in this article, we’ll show you how to repair cast iron. Let’s get started.
Why Cast Iron Needs Repair
Cast iron pans are incredibly durable, but they can still get damaged. Rust, cracks, and chips can occur due to neglect, improper cleaning, or accidental drops. Before we dive into how to repair cast iron, let’s talk about the reasons why cast iron needs repair.
Prevention is Key
Cast iron pans require regular maintenance to prevent rust and damage. Here are some tips to keep your cast iron in top condition:
- Clean your pan after each use with soap and water.
- Dry the pan thoroughly and apply a thin layer of oil.
- Store the pan in a dry place or hang it on a hook.
But, if you’ve already neglected your cast iron pan, don’t worry, we’ve got you covered.
Assessing the Damage
Before you begin how to repair cast iron, inspect the damage. Check for:
- Rust: If the rust is minor, you may be able to remove it with some elbow grease. However, if the rust has eaten through the metal, it’s best to seek professional help or replace the pan.
- Chips and cracks: These can be repaired using various methods, which we’ll discuss later.
Gathering the Right Tools
How to repair cast iron requires the right tools. Here’s a list of what you’ll need:
- Safety gloves
- Safety goggles
- Steel wool
- Sandpaper
- Wire brush
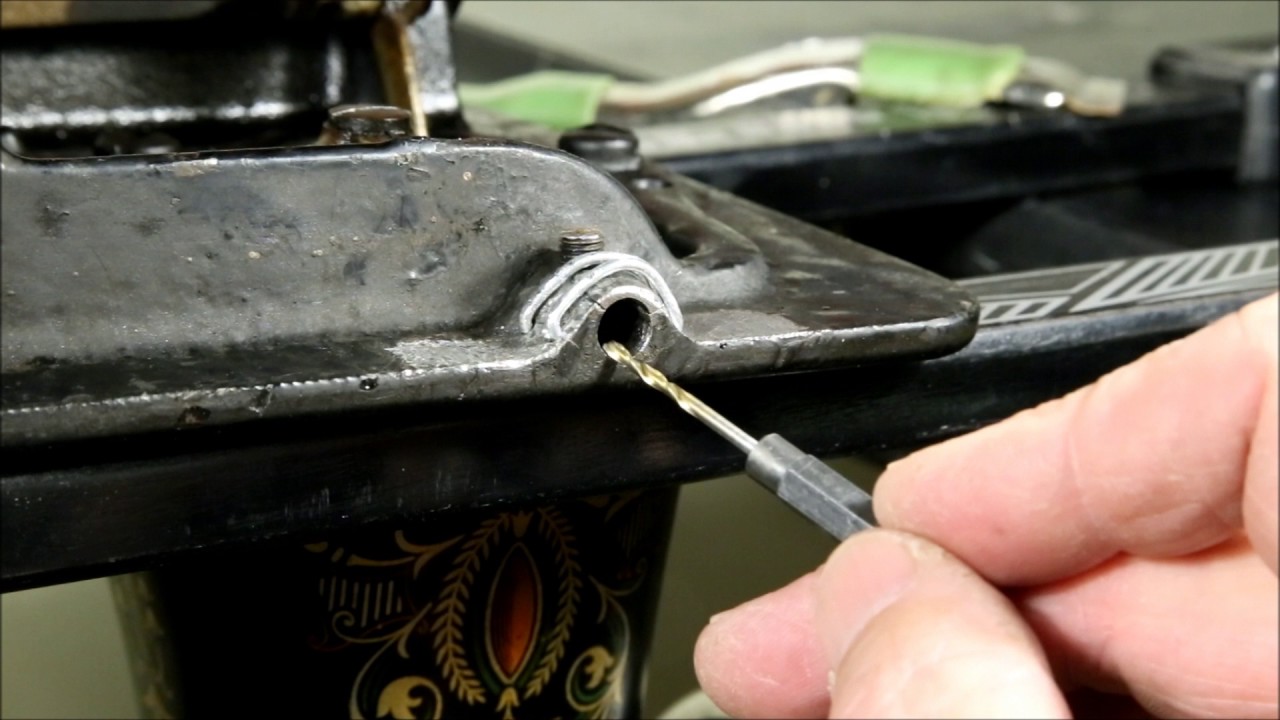
- Drill and drill bits
- Welding equipment (optional)
- Epoxy or metal repair compound
- Cooking oil
Removing Rust and Debris
To begin how to repair cast iron, you’ll need to remove any rust or debris using the following steps:
Step 1: Clean the Pan
Start by cleaning the pan with soap and water. Scrub the pan using a stiff brush to remove any loose debris.
Step 2: Remove Rust Using Steel Wool
Use steel wool to remove rust from the pan. Apply some cooking oil to the steel wool to help loosen the rust. Rub the steel wool over the rusty area until it’s gone.
Step 3: Use Sandpaper
If there’s still some rust remaining, use sandpaper to remove it. Start with a coarse grit sandpaper (about 80-grit) and work your way up to finer grits (120-grit, 220-grit).
Repairing Chips and Cracks
How to repair cast iron also involves repairing chips and cracks. Here are some methods to repair chips and cracks:
Method 1: Epoxy Repair
Apply epoxy or metal repair compound to the chipped or cracked area. Use a drill and drill bits to roughen the surface before applying the epoxy. This will help the epoxy adhere to the metal.
Method 2: Welding
If the chip or crack is deep or extensive, you may need to use welding equipment to repair it. This is a more advanced method and requires some experience with welding.
Method 3: Refacing
If the chip or crack is shallow, you can try refacing the pan using a drill and drill bits. Refacing involves removing a thin layer of metal from the pan to create a new surface.
Applying a New Seasoning
After you’ve completed how to repair cast iron, you’ll need to apply a new seasoning to the pan. Here’s how:
Step 1: Clean the Pan
Clean the pan using soap and water.
Step 2: Apply Cooking Oil
Apply a thin layer of cooking oil to the pan.
Step 3: Heat the Pan
Heat the pan in the oven or on the stovetop until the oil is hot and begins to polymerize.
Step 4: Wipe Off Excess Oil
Wipe off any excess oil using a paper towel.
Step 5: Repeat the Process
Repeat the process several times to build up a thick layer of seasoning.
Conclusion
There you have it, guys, a comprehensive guide on how to repair cast iron. With the right tools and techniques, you can repair your cast iron pan and make it last for years to come.
How to repair cast iron requires patience, dedication, and some experience with DIY projects. If you’re not comfortable with the process, consider seeking professional help.