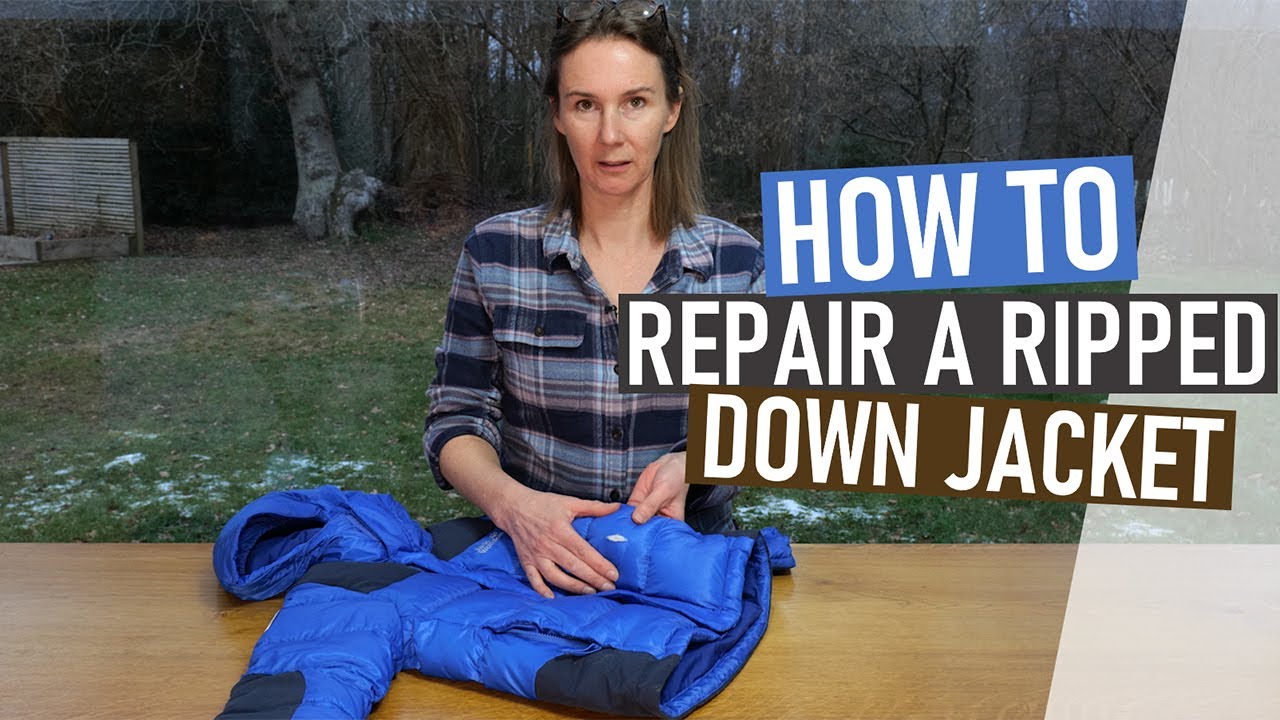
How to Repair Ripped Down Jacket: A Step-by-Step Guide
Hey there, fellow outdoor enthusiasts. Are you tired of your favorite down jacket being ripped and ruined? Don’t worry, we’ve got you covered. In this article, we’ll show you how to repair ripped down jacket and make it look like new again.
Understanding the types of rips
Before we dive into the repair process, it’s essential to understand the types of rips you can encounter on a down jacket. There are two main types:
- Fabric rips: These are tears in the fabric of the jacket that can expose the down filling.
- Down filling rips: These are rips that specifically target the down filling, causing it to leak out.
Gathering the necessary materials
To repair ripped down jacket, you’ll need the following materials:
- Repair patch: A small piece of fabric that matches the color and texture of your jacket.
- Needle and thread: A heavy-duty needle and thread that can withstand the weight of the down filling.
- Down filling: If the rip is severe, you may need to replace the down filling.
- Scissors: For cutting the repair patch and thread.
- Tape: For securing the repair patch in place.
Step 1: Clean and prepare the area
Before you start repairing the rip, make sure to clean and prepare the area. Remove any dirt, debris, or down filling that may be obstructing the rip. Use a soft brush or a cloth to gently sweep away any loose material.
Step 2: Apply the repair patch
Cut a small repair patch to match the size of the rip. Apply a small amount of glue or tape to the patch and attach it to the rip. Make sure the patch is centered and smooth out any wrinkles.
How to Repair Ripped Down Jacket: The Repair Process
Step 3: Sew the rip
Using a heavy-duty needle and thread, sew the rip together. Start at one end of the rip and work your way down, using small, even stitches. Make sure to sew through both layers of fabric to ensure a secure repair.
Step 4: Reinforce the stitches
Once you’ve sewn the rip together, reinforce the stitches by sewing over them multiple times. This will ensure that the repair is secure and won’t come undone over time.
Step 5: Fluff the down
If the rip was severe, you may need to fluff the down filling to redistribute it evenly. Use a soft brush or your fingers to gently fluff the down filling.
How to Repair Ripped Down Jacket: Advanced Techniques
Step 6: Use a darning needle
If the rip is particularly large or in a sensitive area, you may need to use a darning needle to repair it. A darning needle is a specialized needle that has an eye big enough to accommodate a thread that is thicker than regular sewing thread.
Step 7: Use a patching kit
If you’re not comfortable with sewing or don’t have the necessary materials, you can use a patching kit. A patching kit is a pre-made kit that contains everything you need to repair a rip, including a pre-cut patch and thread.
Conclusion: How to Repair Ripped Down Jacket
And there you have it – a step-by-step guide on how to repair ripped down jacket. With these simple steps, you can extend the life of your favorite down jacket and keep it looking like new. Remember to always clean and prepare the area before starting the repair, and use the right materials to ensure a secure and long-lasting repair.
How to Repair Ripped Down Jacket: Tips and Tricks
- Always use a repair patch that matches the color and texture of your jacket.
- Use a heavy-duty needle and thread to ensure a secure repair.
- Reinforce the stitches by sewing over them multiple times.
- Use a soft brush or your fingers to gently fluff the down filling.
By following these tips and tricks, you can repair ripped down jacket like a pro and keep your favorite outdoor gear in great condition.