How to Repair Cracking Paint: A Step-by-Step Guide
=====================================================
Are you tired of looking at those ugly cracks in your walls? Don’t worry, we’ve got you covered. In this article, we’ll walk you through the process of how to repair cracking paint like a pro.
Understanding the Causes of Cracking Paint
Before we dive into the repair process, it’s essential to understand why paint cracks in the first place. There are several reasons why paint might crack, including:
- Poor surface preparation: If the surface wasn’t properly cleaned and primed before painting, the paint may not adhere well, leading to cracks.
- Low-quality paint: Using low-quality paint can lead to poor durability and a higher likelihood of cracking.
- Settling foundation: If the foundation of your house is settling, it can cause cracks in the walls and ceiling.
- Weather conditions: Extreme temperatures, humidity, and weather conditions can cause paint to expand and contract, leading to cracks.
Gathering Your Materials
Now that we’ve covered the causes of cracking paint, let’s move on to the repair process. Here are the materials you’ll need to gather:
- Spackling compound: Also known as filler, this is a paste-like substance used to fill in cracks and holes.
- Sandpaper: You’ll need sandpaper to smooth out the surface after applying the spackling compound.
- Primer: A good primer can help the paint adhere better to the surface and prevent future cracks.
- Paint: You’ll need to match the original paint color as closely as possible to ensure a seamless finish.
- Paintbrushes: You’ll need a variety of paintbrushes to apply the primer and paint.
- Drop cloths: These will protect your floors and furniture from paint spills and stains.
Preparing the Surface
Before you start applying spackling compound, you need to prepare the surface. Here’s how:
Cleaning the Surface
Use a damp cloth to wipe down the surface, removing any dirt, grime, or old paint. This will ensure a smooth, even finish.
Removing Old Paint
If the paint is flaking or peeling, use a putty knife or scraper to remove the old paint. Be careful not to gouge the surface.
Filling Holes and Cracks
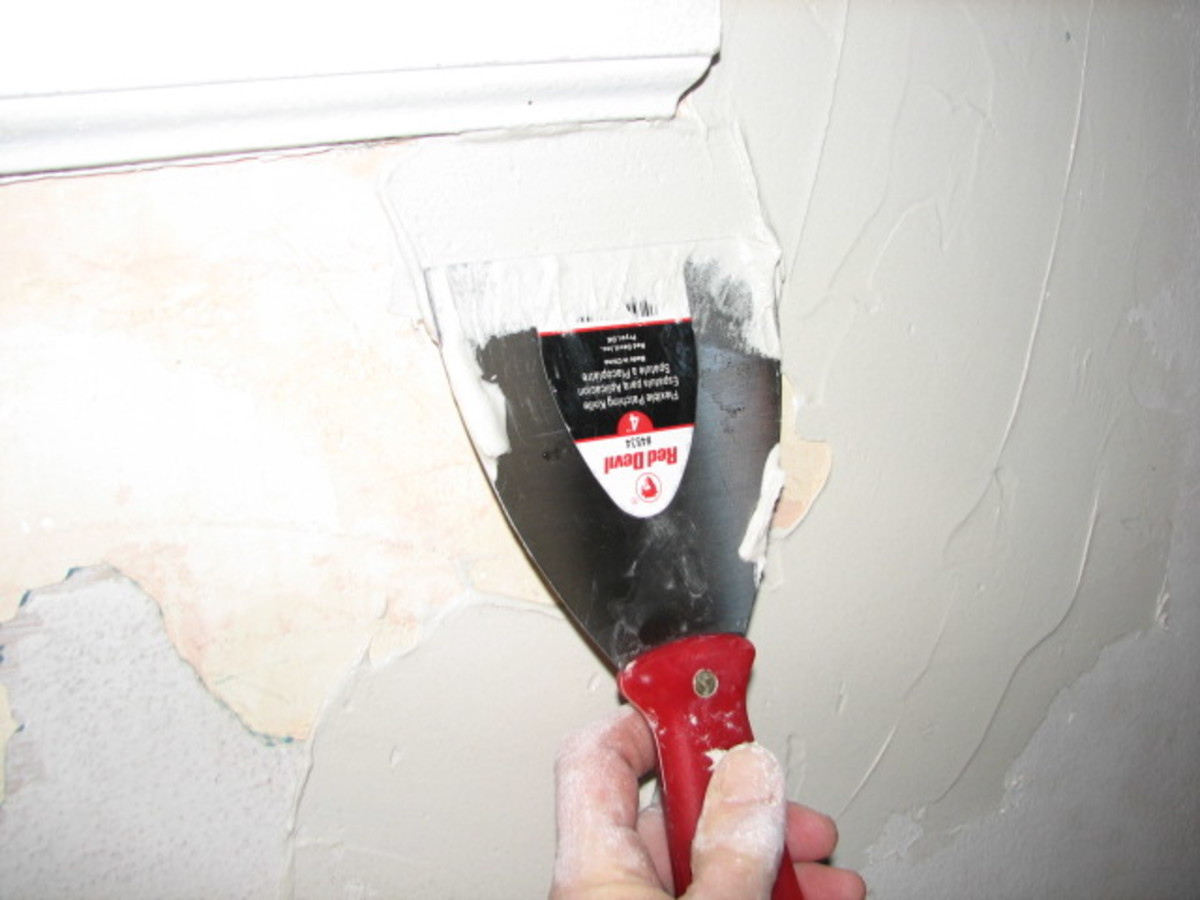
Use a putty knife to apply spackling compound to the holes and cracks. Fill the holes and cracks completely, but don’t overfill them. You can use a damp cloth to wipe away any excess compound.
Applying Spackling Compound
Now that you’ve prepared the surface, it’s time to apply the spackling compound. Here’s how:
Applying the Compound
Use a putty knife to apply the spackling compound to the cracks and holes. Fill them completely, but don’t overfill them.
Smoothing Out the Compound
Use a damp cloth to smooth out the compound, feathering it out towards the edges. This will help the compound blend in with the surrounding surface.
Sanding the Surface
Once the spackling compound is dry, use sandpaper to smooth out the surface. Start with coarse-grit sandpaper and work your way up to fine-grit sandpaper. This will help create a smooth, even finish.
Priming the Surface
Now that the surface is smooth, it’s time to prime it. Here’s how:
Applying the Primer
Use a paintbrush to apply the primer, following the manufacturer’s instructions.
Allowing the Primer to Dry
Let the primer dry completely before moving on to the next step. This can take anywhere from 30 minutes to an hour, depending on the type of primer you’re using.
Painting the Surface
Now that the primer is dry, it’s time to paint the surface. Here’s how:
Applying the Paint
Use a paintbrush to apply the paint, following the manufacturer’s instructions. Make sure to match the original paint color as closely as possible.
Allowing the Paint to Dry
Let the paint dry completely before moving on to the next step. This can take anywhere from 30 minutes to an hour, depending on the type of paint you’re using.
How to Repair Cracking Paint: Tips and Tricks
Here are some tips and tricks to help you how to repair cracking paint like a pro:
- Use a high-quality primer: A good primer can help the paint adhere better to the surface and prevent future cracks.
- Use a high-quality paint: Choose a paint that’s specifically designed for your surface type (latex, oil-based, etc.).
- Don’t overfill the holes and cracks: This can lead to a bulging or raised finish.
- Use a damp cloth to wipe away excess compound: This will help prevent a mess and ensure a smooth finish.
Conclusion
In conclusion, how to repair cracking paint is a simple process that requires the right materials and a bit of patience. By following the steps outlined in this article, you can create a smooth, even finish that will last for years to come. Remember to use high-quality materials, prepare the surface properly, and apply the spackling compound and paint according to the manufacturer’s instructions.
How to Repair Cracking Paint: Final Tips
Before you start the repair process, make sure to:
- Clean the surface thoroughly
- Remove old paint and debris
- Fill holes and cracks completely, but don’t overfill them
- Use a high-quality primer and paint
- Apply the spackling compound and paint according to the manufacturer’s instructions
By following these tips and the steps outlined in this article, you’ll be able to how to repair cracking paint like a pro and create a beautiful, long-lasting finish.