How to Repair RV Awning: A Comprehensive Guide
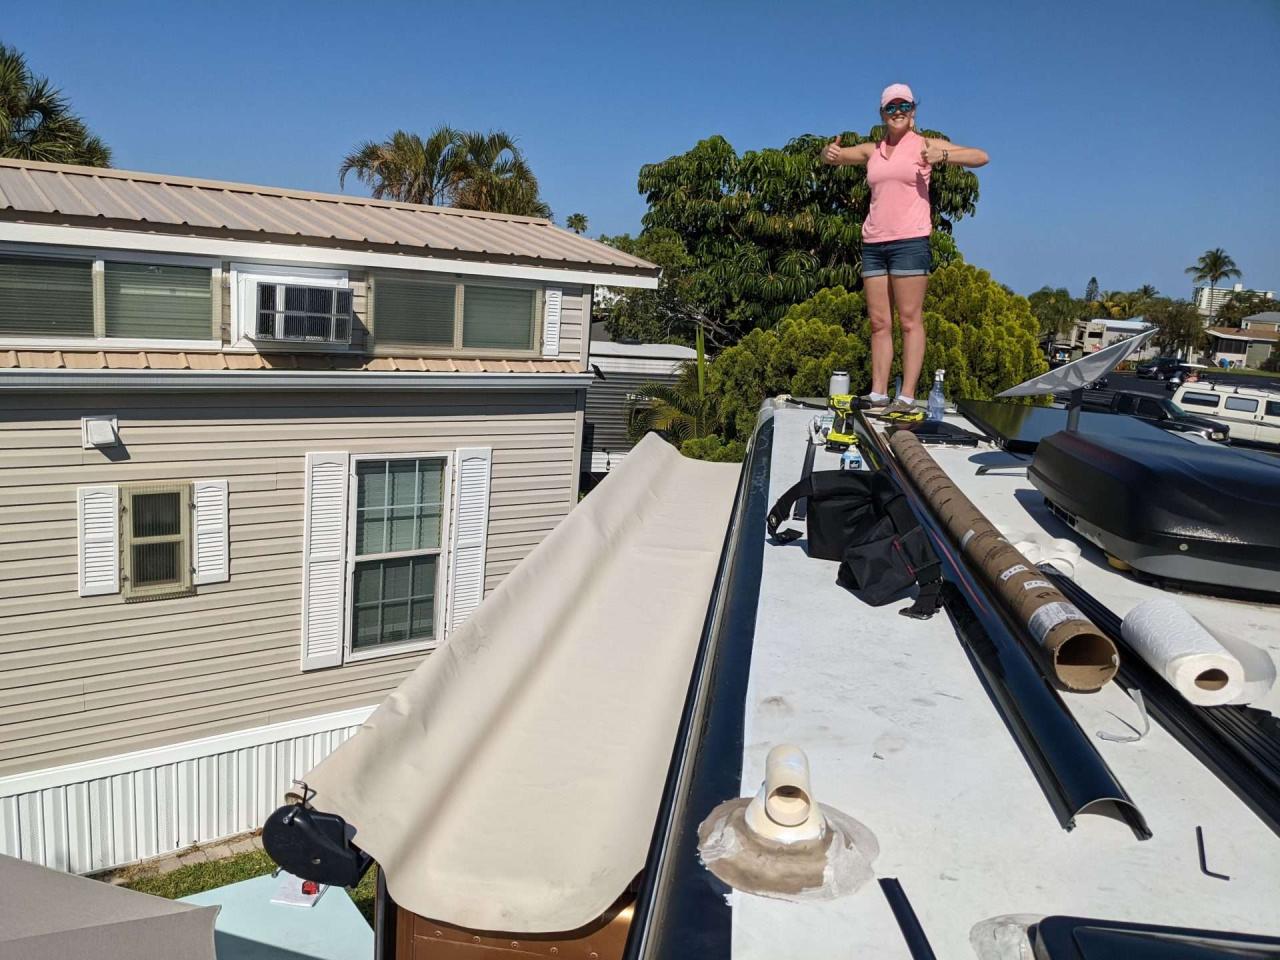
Are you tired of dealing with a wonky RV awning that’s always sagging or flapping in the wind? Don’t worry, buddy, because we’ve got you covered. In this article, we’ll walk you through the steps on how to repair RV awning so you can get back to enjoying the great outdoors.
Why Repair Your RV Awning?
Before we dive into the nitty-gritty of how to repair RV awning, let’s talk about why it’s even worth repairing in the first place. Here are a few reasons:
- Convenience: A working awning can provide shade and protection from the elements, making your RVing experience way more enjoyable.
- Cost-effective: Replacing an awning can be pricey, so repairing it can save you some serious cash.
- Safety: A broken awning can cause injuries or damage to your RV, so it’s essential to get it fixed ASAP.
Gather Your Tools and Materials
Before you start repairing your RV awning, you’ll need to gather a few essential tools and materials. Don’t worry; we’ve got a list for you:
- Awning hardware: Make sure you have all the necessary hardware, such as clamps, springs, and straps.
- Awning fabric: If your awning fabric is damaged, you’ll need to get some new stuff.
- Tools: Get a screwdriver, pliers, wrench, and some basic hand tools.
- Lubricant: Keep some silicone spray or lubricant on hand to grease those moving parts.
Step 1: Inspect Your Awning
How to repair RV awning starts with inspecting the damage. Take a close look at your awning and identify the problem. Check for:
- Tears or holes: Inspect the fabric for any tears or holes that need patching.
- Broken or loose hardware: Check the clamps, springs, and straps for any signs of damage.
- Rust or corrosion: Keep an eye out for rust or corrosion on any metal parts.
Step 2: Clean and Prepare the Area
Once you’ve inspected your awning, it’s time to clean and prepare the area. Use a soft-bristled brush or cloth to:
- Remove dirt and debris: Clean off any dirt or debris that’s accumulated on the awning.
- Clear the area: Make sure the area around the awning is clear of any obstructions.
Step 3: Make Repairs to the Hardware
How to repair RV awning hardware is relatively straightforward. Here’s what you need to do:
- Tighten loose hardware: Use a wrench or pliers to tighten any loose hardware.
- Replace broken hardware: If a piece of hardware is broken, replace it with a new one.
- Lubricate moving parts: Use silicone spray or lubricant to grease any moving parts.
Step 4: Patch or Replace the Fabric
If your awning fabric is damaged, you’ll need to patch or replace it. Here’s how:
- Patch small tears: Use a patch kit or some fabric glue to fix small tears.
- Replace the fabric: If the damage is extensive, you may need to replace the entire fabric.
Step 5: Reassemble and Test the Awning
Once you’ve made all the necessary repairs, it’s time to reassemble and test the awning. Here’s what you need to do:
- Reattach the fabric: Reattach the fabric to the awning hardware.
- Tighten all screws: Make sure all screws are tightened securely.
- Test the awning: Test the awning to make sure it’s working smoothly.
Tips and Tricks
Here are a few tips and tricks to keep in mind when how to repair RV awning:
- Take your time: Don’t rush the repair process. Take your time, and make sure everything is done correctly.
- Use the right materials: Make sure you’re using the right materials for the job.
- Consult a professional: If you’re not sure what you’re doing, consider consulting a professional.
Conclusion
How to repair RV awning is a relatively straightforward process that can save you time and money. By following these steps, you’ll be able to fix your awning and get back to enjoying the great outdoors. Remember to take your time, use the right materials, and consult a professional if needed.
How to repair RV awning is a task that requires patience, persistence, and the right tools and materials. With this guide, you’ll be able to tackle even the toughest repairs and get your awning working smoothly in no time. Happy RVing!