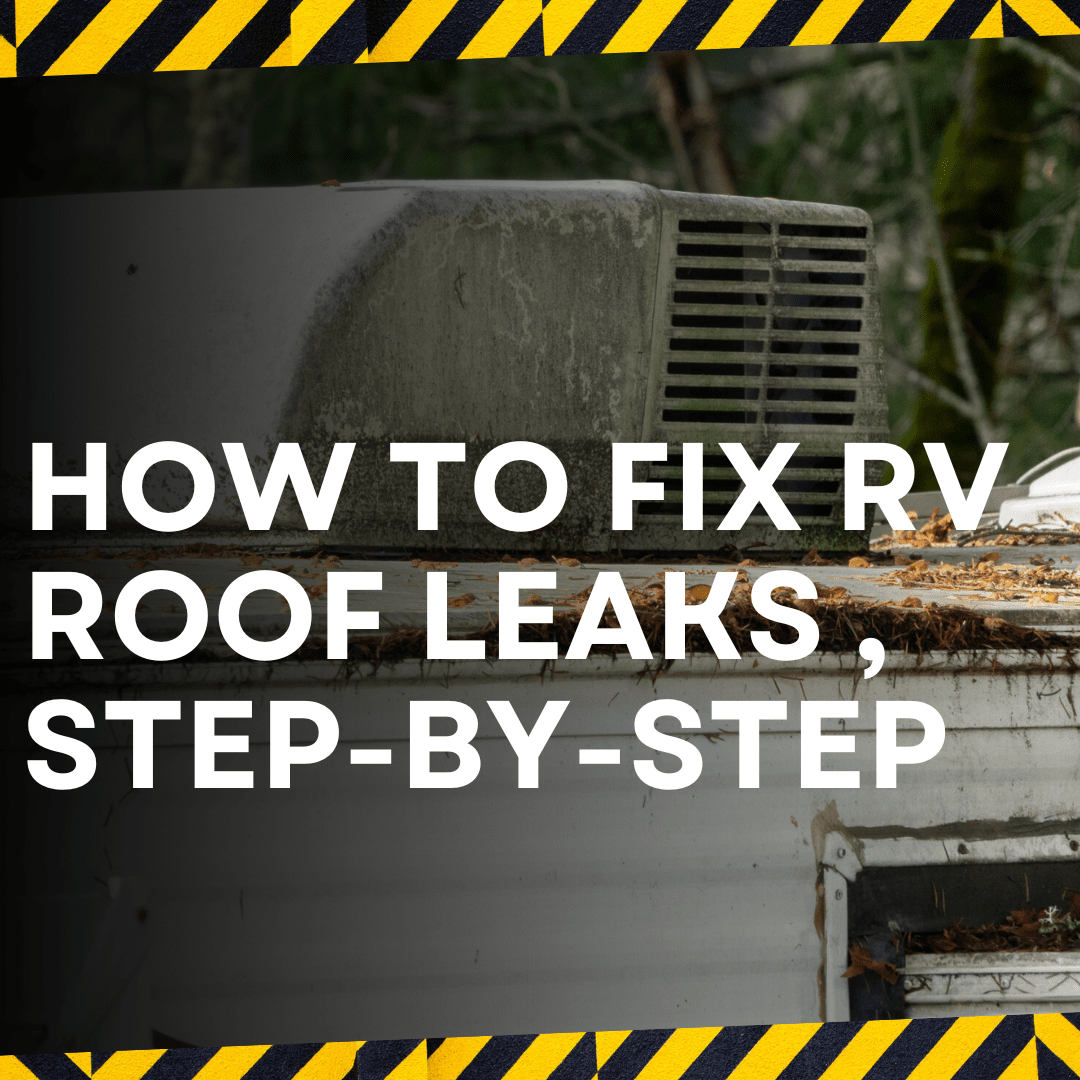
How to Repair RV Roof Leak: A Step-by-Step Guide
Are you tired of dealing with RV roof leaks every time it rains? Do you feel like you’re stuck in a never-ending cycle of patching up holes and praying that the next storm doesn’t bring a flood of water into your rig? Well, fear not, friend, because today we’re going to tackle the tricky topic of how to repair RV roof leak.
Understanding the Causes of RV Roof Leaks
Before we dive into the nitty-gritty of how to repair RV roof leak, it’s essential to understand why these pesky leaks happen in the first place. Here are some common causes of RV roof leaks:
- Sealant failure: Over time, the sealants around vents, skylights, and other openings can break down, allowing water to seep in.
- Cracks and holes: Cracks in the RV’s roof material or holes from screws, nails, or other fasteners can allow water to enter.
- Poor installation: If the RV’s roof was not installed correctly, it can lead to leaks and other issues.
- Age and wear: As your RV gets older, the roof can deteriorate, leading to leaks and other problems.
Gathering Materials and Tools
Before you start repairing your RV roof leak, make sure you have the following materials and tools:
- EPDM rubber: A popular choice for RV roof repairs, EPDM rubber is durable and resistant to UV damage.
- RV roof sealant: A good quality sealant is essential for sealing up holes and cracks.
- Roof patch kit: A roof patch kit can be used to repair small holes and cracks.
- Screwdriver: A screwdriver is necessary for removing screws and other fasteners.
- Pliers: Pliers can be used to grip and bend objects.
- Ladder: A ladder is necessary for accessing the RV’s roof.
Step 1: Inspect the Roof
The first step in how to repair RV roof leak is to inspect the roof thoroughly. Here’s what you need to do:
- Look for obvious signs of damage: Check for holes, cracks, and other signs of damage.
- Check the sealants: Inspect the sealants around vents, skylights, and other openings to see if they’re damaged or deteriorated.
- Check the roof’s surface: Inspect the roof’s surface for any signs of damage or deterioration.
Step 2: Clean the Roof
The next step in how to repair RV roof leak is to clean the roof thoroughly. Here’s what you need to do:
- Remove dirt and debris: Use a broom or a brush to remove dirt and debris from the roof.
- Use a cleaning solution: Mix a cleaning solution and apply it to the roof using a soft-bristled brush.
- Rinse the roof: Rinse the roof thoroughly with water to remove any soap scum or debris.
Step 3: Repair Holes and Cracks
The next step in how to repair RV roof leak is to repair any holes and cracks you found during the inspection. Here’s what you need to do:
- Use a roof patch kit: Apply a roof patch kit to small holes and cracks.
- Use RV roof sealant: Apply RV roof sealant to larger holes and cracks.
- Use EPDM rubber: Apply EPDM rubber to holes and cracks that require a more durable fix.
Step 4: Re-seal the Roof
The next step in how to repair RV roof leak is to re-seal the roof. Here’s what you need to do:
- Apply new sealants: Apply new sealants around vents, skylights, and other openings.
- Use a bead of sealant: Apply a bead of sealant along the edges of the roof.
- Use a sealant tape: Apply a sealant tape to any areas that are difficult to reach.
Step 5: Inspect and Test
The final step in how to repair RV roof leak is to inspect and test the repairs. Here’s what you need to do:
- Inspect the roof: Inspect the roof to make sure that all repairs are completed and that there are no signs of leaks.
- Test the roof: Test the roof by applying water to the repaired areas to make sure that they are watertight.
Conclusion
And there you have it, folks! With these simple steps, you can learn how to repair RV roof leak and keep your rig safe and dry. Remember to always inspect your RV’s roof regularly to catch any problems before they become major issues. Happy camping!
How to Repair RV Roof Leak FAQ
Q: What is the best material to use for RV roof repairs?
A: EPDM rubber is a popular choice for RV roof repairs because it is durable and resistant to UV damage.
Q: How often should I inspect my RV’s roof?
A: You should inspect your RV’s roof regularly to catch any problems before they become major issues.
Q: Can I repair my RV’s roof myself?
A: Yes, you can repair your RV’s roof yourself, but it’s essential to make sure that you have the right materials and tools and that you follow the proper steps.
How to Repair RV Roof Leak Tips and Tricks
- Use a ladder safety harness: Use a ladder safety harness to protect yourself from falls when working on your RV’s roof.
- Apply a bead of sealant: Apply a bead of sealant along the edges of the roof to prevent leaks.
- Use a sealant tape: Use a sealant tape to seal areas that are difficult to reach.
By following these tips and tricks, you can ensure that your RV’s roof is safe and secure, and you can enjoy the open road without worrying about leaks. Happy camping!