How to Repair the Rear Window Defroster: A DIY Guide
Are you tired of dealing with a frozen rear window on chilly mornings? Look no further. In this article, we’ll show you how to repair the rear window defroster like a pro. Whether you’re a seasoned DIY enthusiast or a beginner, this guide will walk you through the process step-by-step.
Understanding the Rear Window Defroster
Before we dive into the repair process, let’s understand how the rear window defroster works. The defroster is essentially a grid of thin metal lines that are embedded in the rear window. When you turn on the defroster switch, an electric current flows through these lines, heating them up and melting any frost or ice on the window.
Common Problems with the Rear Window Defroster
So, what can go wrong with the rear window defroster? Here are some common problems you might encounter:
- Faulty switch: The defroster switch is worn out or damaged, preventing the electric current from flowing to the defroster grid.
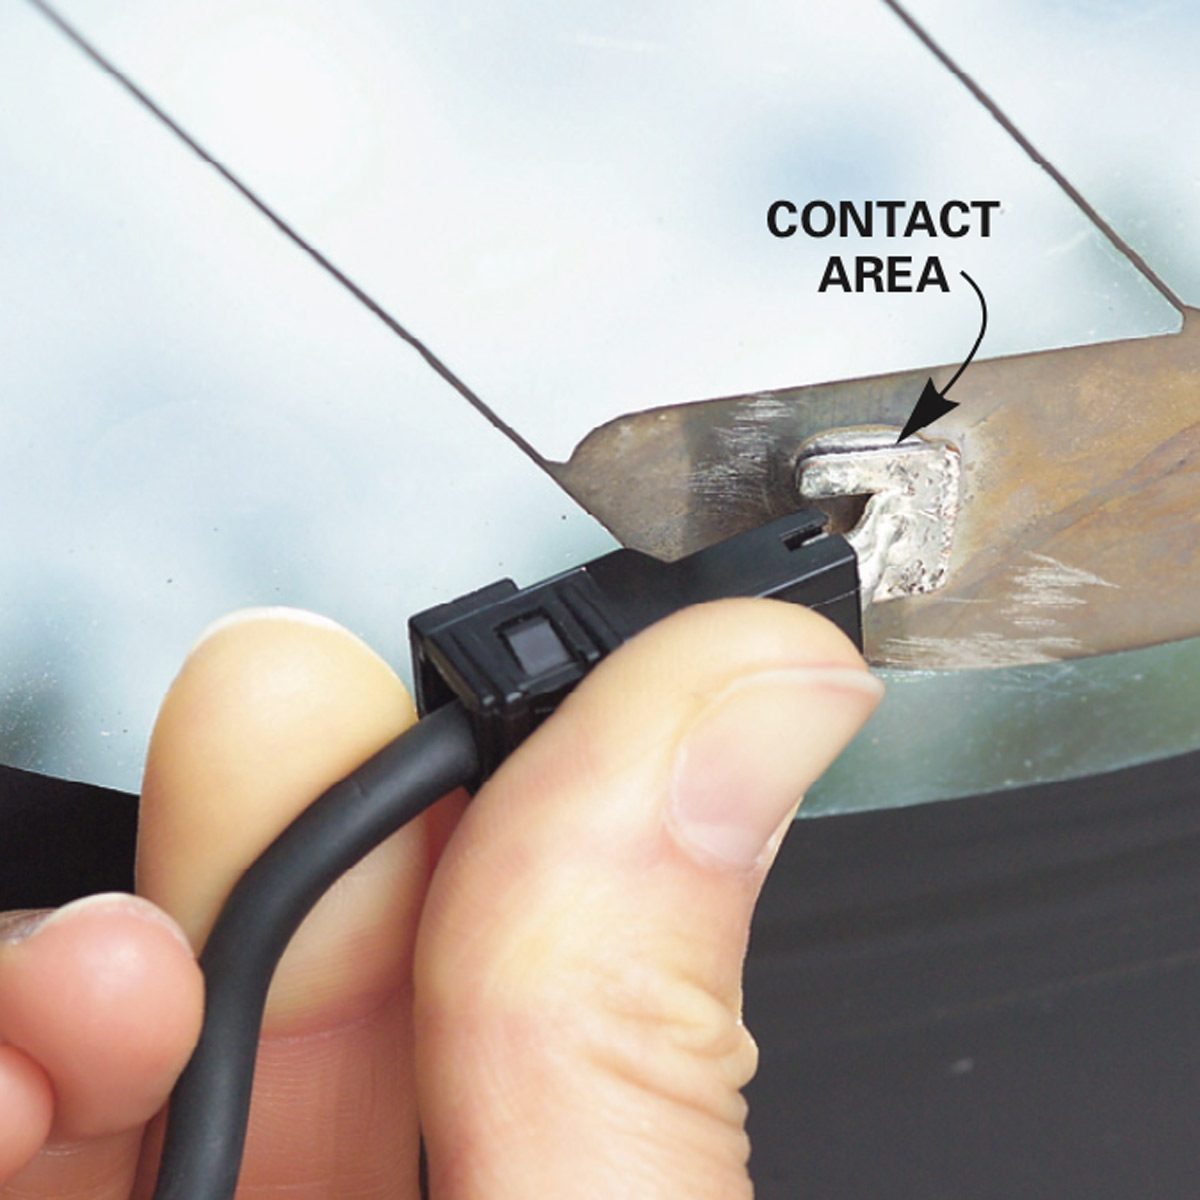
- Broken grid lines: The metal lines in the defroster grid are broken or damaged, reducing the effectiveness of the defroster.
- Corrosion: Corrosion on the defroster grid or its connections can prevent the electric current from flowing properly.
- Wiring issues: The wiring between the defroster switch and the grid is damaged or corroded, preventing the defroster from working.
Tools and Materials Needed
To repair the rear window defroster, you’ll need the following tools and materials:
- Rear window defroster grid repair kit (available at most auto parts stores)
- Multimeter (optional)
- Wire strippers
- Electrical tape
- Soldering iron and solder (optional)
- Switch cleaner (optional)
Step 1: Diagnose the Problem
Before you start repairing the rear window defroster, you need to diagnose the problem. Here’s how:
- Turn on the defroster switch and check if the defroster is working. If not, proceed to the next step.
- Check the fuse box to see if the defroster fuse is blown. If it is, replace it with a new one.
- Use a multimeter to check the voltage at the defroster switch. If the voltage is low, the problem might be with the wiring or the switch.
- Inspect the defroster grid for any damaged or broken lines. If you find any, you’ll need to replace the grid.
Step 2: Repair or Replace the Defroster Grid
If the defroster grid is damaged or corroded, you might need to replace it. Here’s how:
- Purchase a rear window defroster grid repair kit from an auto parts store.
- Remove the rear window trim and any other obstructions to access the defroster grid.
- Use a screwdriver to remove the screws holding the grid in place.
- Carefully remove the grid from the window and inspect it for any damage.
- If the grid is damaged beyond repair, replace it with a new one from the repair kit.
- Apply a thin layer of conductive adhesive to the new grid and attach it to the window.
- Reattach the trim and any other obstructions you removed.
Step 3: Repair or Replace the Defroster Switch
If the defroster switch is faulty, you might need to replace it. Here’s how:
- Use a multimeter to check the voltage at the defroster switch. If the voltage is low, the problem might be with the switch.
- Remove the switch from the dashboard or center console.
- Use a screwdriver to remove the screws holding the switch in place.
- Carefully remove the switch from the dashboard or center console.
- Inspect the switch for any damage or corrosion. If it’s damaged beyond repair, replace it with a new one.
- Apply a thin layer of contact cleaner to the new switch and attach it to the dashboard or center console.
Step 4: Repair or Replace the Wiring
If the wiring between the defroster switch and the grid is damaged or corroded, you’ll need to repair or replace it. Here’s how:
- Use a multimeter to check the voltage at the wiring. If the voltage is low, the problem might be with the wiring.
- Remove any trim or obstructions to access the wiring.
- Use wire strippers to remove any damaged or corroded wiring.
- Use electrical tape to insulate any new wiring.
- Use a soldering iron and solder to connect any new wiring to the defroster grid or switch.
Conclusion
How to repair the rear window defroster is not a difficult task, but it does require some patience and basic DIY skills. By following the steps outlined in this article, you should be able to diagnose and repair any problems with your rear window defroster. Remember to always follow safety precautions when working with electrical systems, and consult a professional mechanic if you’re unsure about any part of the process. Happy DIY-ing!
How to Repair the Rear Window Defroster: Tips and Tricks
- Use a multimeter to check the voltage at the defroster switch and wiring to diagnose any problems.
- Apply a thin layer of conductive adhesive to the new defroster grid to ensure good electrical contact.
- Use contact cleaner to clean any corroded or damaged switches or wiring.
- Use electrical tape to insulate any new wiring to prevent shorts or corrosion.
- Test the defroster after repairing it to ensure it’s working properly.
Frequently Asked Questions
- Q: Can I repair the rear window defroster myself?
A: Yes, you can repair the rear window defroster yourself with some basic DIY skills and tools. - Q: How much does it cost to repair the rear window defroster?
A: The cost of repairing the rear window defroster can vary depending on the problem and the materials needed. On average, it can cost between $50 to $200. - Q: Can I replace the rear window defroster grid myself?
A: Yes, you can replace the rear window defroster grid yourself with a repair kit. However, if you’re not comfortable with DIY repairs, it’s recommended to consult a professional mechanic.