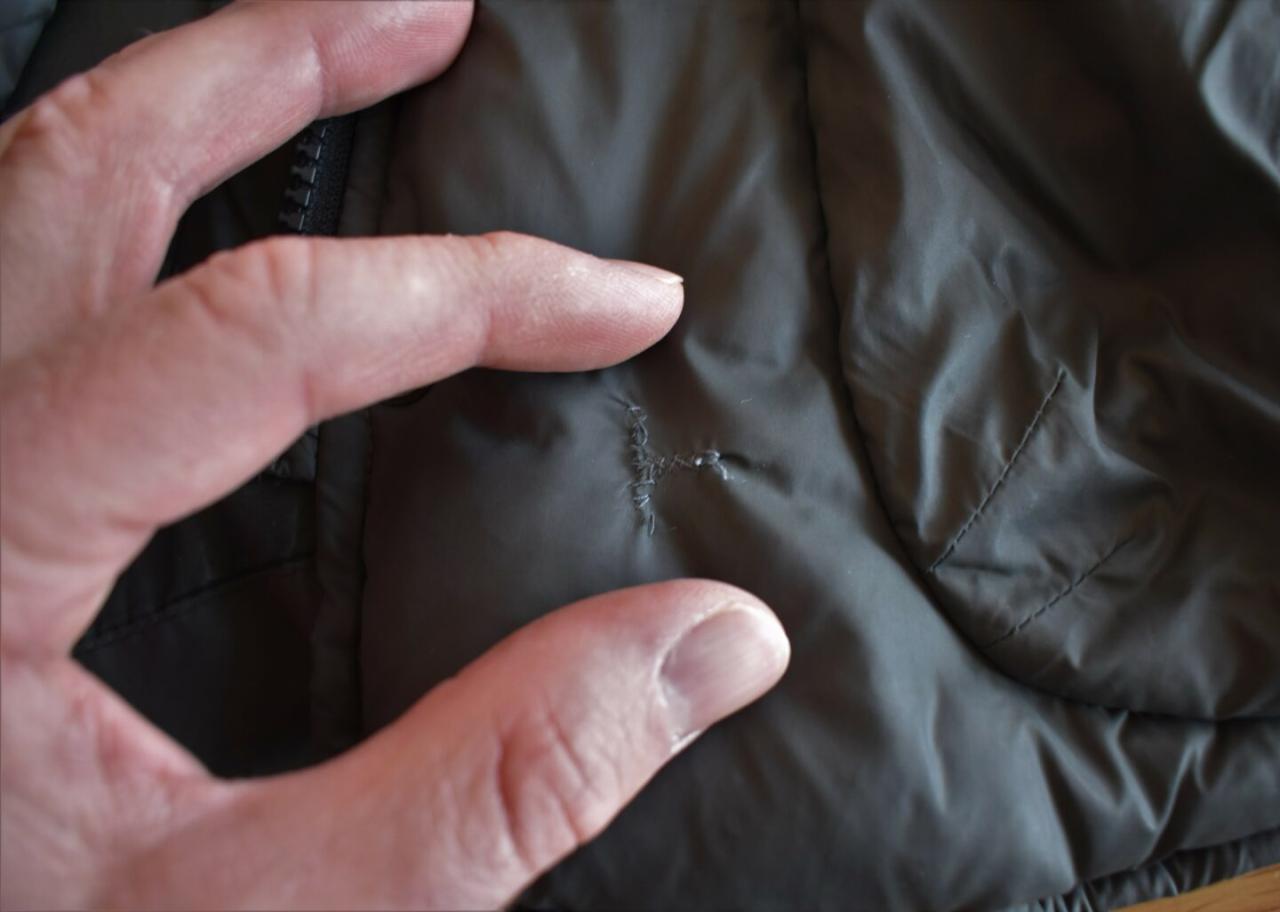
How to Repair Down Jacket Tear: A Step-by-Step Guide
Hey there, adventure-seekers. If you’re an outdoorsy person like me, you know how much you rely on your trusty down jacket to keep you warm and cozy on those chilly camping trips or hiking excursions. But, let’s face it – accidents can happen, and a nasty tear can leave your jacket in shambles. Don’t worry, though; we’ve got you covered. In this article, we’ll show you how to repair down jacket tear in no time.
Why Repair Your Down Jacket?
Before we dive into the nitty-gritty of the repair process, let’s talk about why you should even bother repairing your down jacket in the first place. I mean, can’t you just buy a new one, right? Well, not so fast. Here are a few reasons why repairing your down jacket is the way to go:
- Save money: Down jackets can be pretty pricey, especially if you’re looking for a high-quality one. By repairing your existing jacket, you can save some serious cash.
- Reduce waste: Let’s face it – the fashion industry (yes, even outdoor gear) is a major contributor to waste and pollution. By repairing your gear, you’re doing your part to reduce your environmental footprint.
- Prolong the life of your gear: With proper care and maintenance, your down jacket can last for many years. By repairing tears and other damage, you can extend the life of your gear and get more use out of it.
What You’ll Need
Before we start the repair process, let’s make sure you’ve got everything you need. Here are the necessary materials and tools:
- Down jacket with a tear (obviously)
- Fabric patch material ( matching the color and texture of your jacket as closely as possible)
- Thread (matching the color of your jacket)
- Sewing needles (sharp and suitable for the type of fabric your jacket is made of)
- Sewing machine (optional)
- Down-proof tape (optional)
- Down filling (if the tear has caused some of the down filling to escape)
Preparing the Area Around the Tear
Okay, now that we’ve got everything we need, let’s get started. The first step is to prepare the area around the tear. This involves cleaning and stabilizing the fabric to make it easier to work with.
Cleaning the Area
Use a soft-bristled brush or a clean cloth to gently remove any dirt or debris from the area around the tear. This will help prevent any further damage or contamination.
Stabilizing the Fabric
Use a piece of down-proof tape to stabilize the fabric around the tear. This will help prevent the tear from growing or the down filling from escaping further.
How to Repair Down Jacket Tear: The Repair Process
Now that the area around the tear is prepared, it’s time to start the repair process. Here’s a step-by-step guide:
Step 1: Turn Your Jacket Inside Out
Turn your jacket inside out to make it easier to work on the tear from the inside.
Step 2: Pin the Tear
Use some sewing pins to pin the tear together from the inside. Make sure the edges are aligned properly and the fabric is smooth.
Step 3: Apply Down-Proof Tape
Apply some down-proof tape to the inside of the tear to add some extra stability and prevent the down filling from escaping.
Step 4: Sew the Tear
Using a sewing machine or a sharp sewing needle, sew the tear together from the inside. Make sure to use a simple running stitch or a whipstitch to secure the edges.
Step 5: Reinforce the Edges
Use some additional thread or yarn to reinforce the edges of the tear. This will help prevent further damage or fraying.
Re-Filling Down Filling (If Necessary)
If the tear has caused some of the down filling to escape, you may need to re-fill the affected area. Here’s how:
Step 1: Identify the Affected Area
Identify the area where the down filling has escaped and determine how much filling is needed.
Step 2: Use a Down Filling Tool
Use a down filling tool or a small funnel to re-fill the affected area. Make sure to use the correct type of down filling for your jacket.
Step 3: Fluff and Settle
Use your fingers or a soft-bristled brush to fluff and settle the down filling in the affected area.
Tips and Tricks
Here are some additional tips and tricks to help you repair your down jacket like a pro:
- Use the right materials: Make sure to use materials that match the color and texture of your jacket as closely as possible.
- Use a sewing machine: If you have access to a sewing machine, use it to sew the tear together. It will be faster and more secure than sewing by hand.
- Don’t overfill: Make sure not to overfill the affected area with down filling. This can cause the fabric to bulge or become misshapen.
How to Repair Down Jacket Tear: Conclusion
There you have it – a step-by-step guide on how to repair down jacket tear. With these simple steps and some basic materials, you can fix that annoying tear and get back to enjoying the great outdoors. So next time you’re out on an adventure and you notice a tear in your down jacket, don’t panic. Just follow these steps, and you’ll be good to go.
By following these simple steps and using the right materials, you can repair your down jacket tear and extend the life of your gear. So, go ahead and give it a try – your wallet (and the planet) will thank you!