How to Repair a Small Tear in Leather Car Seat: A Step-by-Step Guide
Are you tired of looking at that unsightly tear in your leather car seat? Don’t worry, you and me, we’ve got this. With a few simple steps and some basic tools, you can repair that tear in no time. In this article, we’ll take you through the process of how to repair a small tear in leather car seat and have your car looking brand new again.
What You’ll Need
Before we dive into the process, you’ll need a few basic tools and materials. Here’s what you’ll need:
- A leather repair kit (available at most auto parts stores or online)
- A pair of scissors
- A leather patch (matching the color and type of leather on your car seat)
- A leather glue
- A leather conditioner
- A soft cloth
- A hair dryer (optional)
Preparation is Key
Before you start repairing the tear, you’ll need to prepare the area around it. Here’s how to repair a small tear in leather car seat by preparing the area:
Clean the Area
Use a soft cloth to gently clean the area around the tear. Remove any dirt, dust, or debris that may be accumulated around the tear. This will ensure a clean and smooth repair.
Condition the Leather
Use a leather conditioner to moisturize the leather around the tear. This will help to keep the leather soft and supple, making it easier to work with.
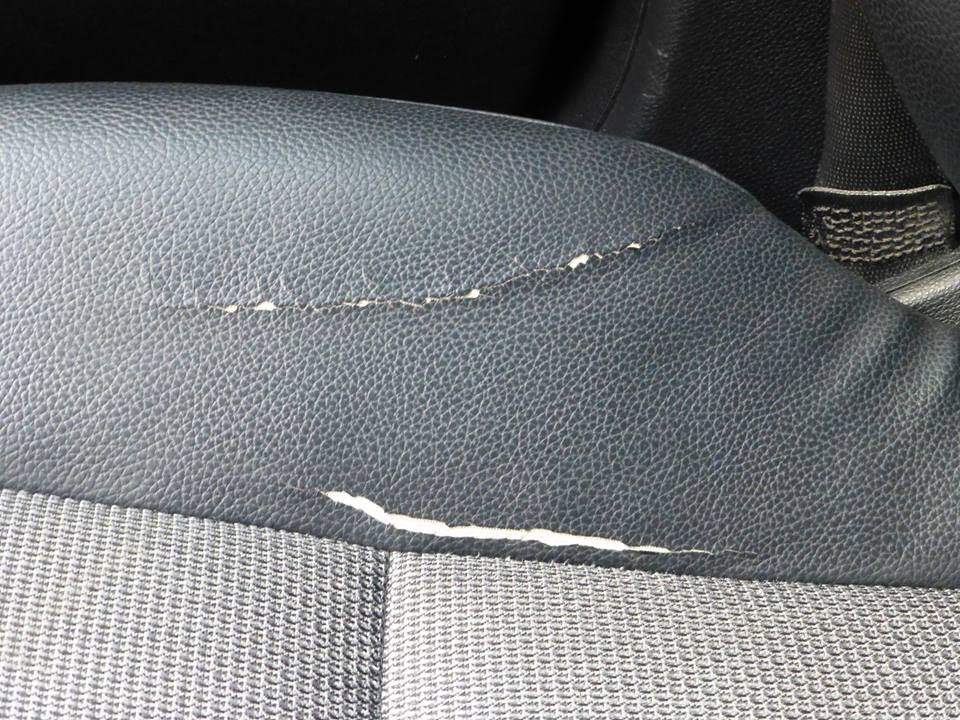
Assess the Tear
Take a closer look at the tear and assess the damage. If the tear is large or in a load-bearing area, it may be best to seek the advice of a professional upholsterer. However, if the tear is small and in a non-load-bearing area, you can proceed with the repair.
Applying the Leather Glue
Now it’s time to start the repair process. Here’s how to repair a small tear in leather car seat by applying the leather glue:
Apply the Leather Glue
Use a small brush to apply a thin layer of leather glue to the underside of the tear. Make sure to apply the glue only to the underside of the tear, as applying it to the top side can create a mess.
Allow the Glue to Dry
Allow the glue to dry completely before proceeding with the next step. This may take a few minutes, depending on the type of glue you’re using.
Applying the Leather Patch
Now it’s time to apply the leather patch. Here’s how to repair a small tear in leather car seat by applying the leather patch:
Cut the Leather Patch
Use a pair of scissors to cut a leather patch that matches the size and shape of the tear. Make sure to cut the patch slightly larger than the tear, as this will ensure a secure fit.
Apply the Leather Patch
Use a small brush to apply a thin layer of leather glue to the back of the leather patch. Then, carefully place the patch over the tear, pressing it firmly into place.
Allow the Glue to Dry
Allow the glue to dry completely before proceeding with the next step. This may take a few minutes, depending on the type of glue you’re using.
Finishing Touches
Now that the repair is complete, it’s time to add the finishing touches. Here’s how to repair a small tear in leather car seat by adding the finishing touches:
Condition the Leather
Use a leather conditioner to moisturize the leather around the repair. This will help to keep the leather soft and supple.
Use a Hair Dryer (Optional)
If the repair is still slightly raised or uneven, you can use a hair dryer to heat it up and smooth it out. Be careful not to overheat the leather, as this can damage it.
Inspect the Repair
Take a closer look at the repair and make sure it’s secure and even. If necessary, you can use a small amount of leather glue to touch up any imperfections.
Conclusion
And there you have it, folks! With these simple steps, you can repair a small tear in your leather car seat and have it looking brand new again. Remember, how to repair a small tear in leather car seat is a simple process that requires patience, attention to detail, and the right tools and materials.
So next time you notice a small tear in your leather car seat, don’t panic. Just grab your leather repair kit and get to work. With a little bit of effort, you’ll have your car looking like new again in no time.
How to Repair a Small Tear in Leather Car Seat: Final Thoughts
We hope this article has been helpful in guiding you through the process of how to repair a small tear in leather car seat. Remember to take your time, be patient, and don’t be afraid to ask for help if you need it. With a little bit of practice, you’ll be a pro at repairing leather tears in no time.
So go ahead, give it a try, and see the difference for yourself. How to repair a small tear in leather car seat is a skill that will serve you well for years to come. Happy repairing!