How to Repair Drywall Tape Bubbles: A Comprehensive Guide
Are you dealing with drywall tape bubbles in your home? Don’t worry, it’s a common issue that can be easily fixed with the right techniques and tools. In this article, we’ll walk you through the step-by-step process of how to repair drywall tape bubbles, so you can get your walls looking smooth and seamless again.
Understanding Drywall Tape Bubbles
Before we dive into the repair process, let’s quickly understand what causes drywall tape bubbles in the first place. These bubbles occur when air gets trapped between the drywall tape and the joint compound, causing the tape to lift off the surface. This can happen due to a variety of reasons, including:
- Inadequate joint compound application
- Insufficient drying time
- Poor tape installation
- Movement in the wall or ceiling
How to Repair Drywall Tape Bubbles requires some basic tools and materials, which we’ll cover in the next section.
Materials Needed
To repair drywall tape bubbles, you’ll need the following materials:
- Joint compound (also known as spackling compound)
- Drywall tape
- Mud pan
- Putty knife (4-6 inches wide)
- Sanding block or sandpaper
- Paint (optional)
Step-by-Step Repair Process
Step 1: Prepare the Area
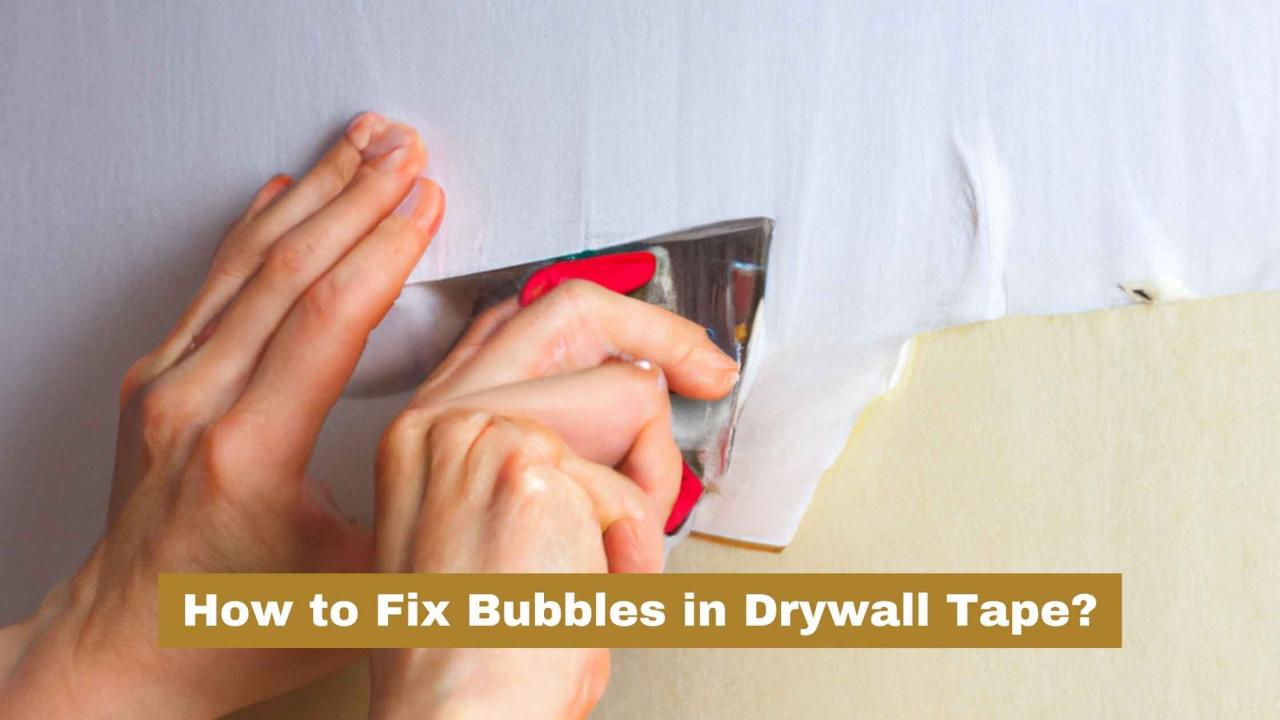
How to repair drywall tape bubbles starts with preparing the area around the bubble. Use a putty knife to scrape off any loose or excess joint compound around the bubble. This will help you get a good grip on the tape.
Step 2: Pop the Bubble
Use a needle or a small pin to carefully pop the bubble. Try to do this gently, as you don’t want to create a hole in the drywall. If the bubble is particularly stubborn, you can use a putty knife to carefully pry it off.
Step 3: Remove the Old Tape
Once the bubble is popped, use a putty knife to carefully remove the old tape. Be careful not to gouge the drywall surface.
Step 4: Clean the Area
Use a damp cloth to clean the area around the bubble. This will help remove any remaining joint compound or debris.
Step 5: Apply New Joint Compound
How to repair drywall tape bubbles requires applying new joint compound to the area. Use a putty knife to apply a thin layer of compound to the area, spreading it smoothly and evenly.
Step 6: Embed the New Tape
Cut a new piece of drywall tape to fit the area, and press it firmly onto the compound. Use a putty knife to smooth out any air bubbles or wrinkles.
Step 7: Apply Additional Coats of Compound
Apply additional coats of joint compound to the area, spreading it smoothly and evenly. Allow each coat to dry completely before applying the next one.
Step 8: Sand the Area
Use a sanding block or sandpaper to smooth out the area, feathering it out to blend with the surrounding surface.
Step 9: Paint the Area (Optional)
If necessary, use a paintbrush or roller to apply a coat of paint to the area, blending it with the surrounding surface.
Tips and Tricks
- When applying joint compound, use a putty knife to spread it smoothly and evenly. Avoid applying too much compound, as this can create a mess.
- Use a sanding block or sandpaper to smooth out the area, rather than a sanding sponge. This will help prevent scratches.
- If you’re dealing with multiple bubbles, it’s best to fix them all at once to avoid creating a mess.
- How to repair drywall tape bubbles requires patience, so don’t rush the process. Allow each coat of compound to dry completely before applying the next one.
Common Mistakes to Avoid
- Applying too much joint compound, which can create a mess.
- Not allowing each coat of compound to dry completely, which can cause the tape to lift off the surface.
- Not using a sanding block or sandpaper to smooth out the area, which can create scratches.
How to Repair Drywall Tape Bubbles in Different Situations
Repairing Drywall Tape Bubbles in Corners
Repairing drywall tape bubbles in corners can be a bit tricky. To do this, apply a small amount of joint compound to the area, and use a putty knife to spread it smoothly and evenly. Cut a new piece of drywall tape to fit the area, and press it firmly onto the compound. Use a putty knife to smooth out any air bubbles or wrinkles.
Repairing Drywall Tape Bubbles on Ceilings
Repairing drywall tape bubbles on ceilings can be a bit challenging, as the compound can drip or sag. To avoid this, use a putty knife to apply a small amount of compound to the area, and use a sanding block or sandpaper to smooth out the surface.
Conclusion
How to repair drywall tape bubbles is a relatively simple process that requires some basic tools and materials. By following the step-by-step process outlined in this article, you can get your walls looking smooth and seamless again. Remember to be patient, as this process can take some time. Happy repairing!
Closing
How to repair drywall tape bubbles is a common issue that can be easily fixed with the right techniques and tools. By following the steps outlined in this article, you can get your walls looking smooth and seamless again. Remember to be patient, and don’t hesitate to reach out if you have any questions or concerns. Happy repairing!