How to Repair Gaps in Hardwood Floors: A Step-by-Step Guide

Are you tired of looking at those annoying gaps in your hardwood floors? Well, you’re in luck because I’ve got a comprehensive guide on how to repair gaps in hardwood floors that’ll have your home looking like new in no time. In this article, we’ll cover the causes of gaps, preparation, and the different methods for repairing them.
Understanding the Causes of Gaps in Hardwood Floors
Before we dive into the repair process, it’s essential to understand why gaps occur in hardwood floors. Here are some common causes:
- Seasonal changes: Wood expands and contracts with temperature and humidity changes, causing gaps to appear.
- Shrinkage: As wood dries, it shrinks, resulting in gaps between boards.
- Poor installation: If the hardwood floor was installed incorrectly, gaps may appear over time.
- Wear and tear: Heavy foot traffic and age can cause gaps to form.
Preparing for the Repair Process
To ensure a successful repair, it’s crucial to prepare the area properly. Here’s what you need to do:
- Clean the floor thoroughly: Sweep, mop, and vacuum the floor to remove dirt, dust, and debris.
- Remove furniture and rugs: Move any furniture, rugs, or mats to prevent further damage.
- Inspect the floor: Identify the location and size of the gaps to determine the best repair method.
Method 1: Wood Filler
For small gaps (about 1/8 inch wide or smaller), wood filler is a quick and easy solution.
How to Repair Gaps in Hardwood Floors with Wood Filler:
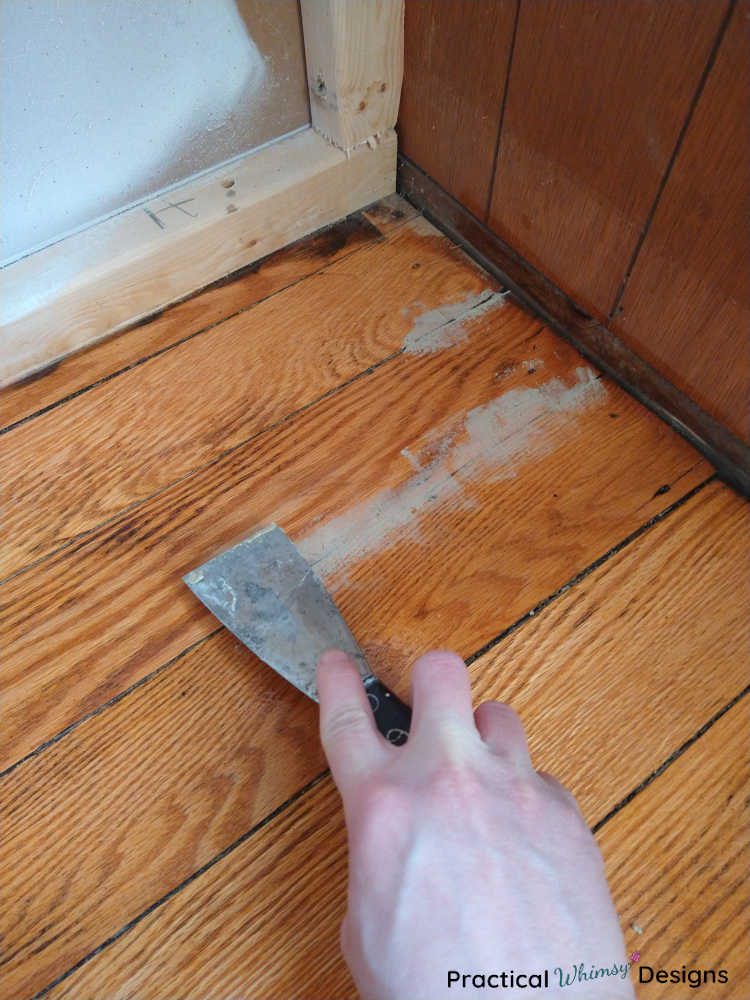
- Apply wood filler: Use a putty knife to fill the gap with wood filler, pressing it firmly into the gap.
- Wipe off excess: Use a damp cloth to wipe away any excess filler from the surrounding area.
- Sand the area: Use a fine-grit sandpaper to smooth out the filled area.
Method 2: Wood Shim
For larger gaps (about 1/4 inch wide or larger), a wood shim is a more effective solution.
How to Repair Gaps in Hardwood Floors with Wood Shims:
- Measure the gap: Measure the width of the gap to determine the right size of wood shim.
- Cut the shim: Cut a shim to the correct width and length to fit snugly into the gap.
- Apply adhesive: Use a small amount of adhesive (such as wood glue) to secure the shim.
Method 3: Refinishing the Floor
If the gaps are more extensive, refinishing the entire floor might be the best solution.
How to Repair Gaps in Hardwood Floors by Refinishing:
- Sand the entire floor: Sand the entire floor to smooth out the surface.
- Apply wood filler: Fill in any gaps with wood filler.
- Stain and refinish: Stain the floor with your desired color and refinish with a new coat of polyurethane.
Tips and Tricks for Repairing Gaps
- Use a color-matched filler or shim to blend with the surrounding floor.
- For small gaps, use a wood touch-up marker to blend with the surrounding floor.
- Regularly inspect your hardwood floor to catch gaps early and prevent further damage.
Preventing Gaps in the Future
While repairing gaps is essential, preventing them from occurring in the first place is even more crucial. Here are some tips to help you prevent gaps in your hardwood floor:
- Install a humidifier: Maintaining a consistent humidity level can help prevent wood shrinkage.
- Sweep regularly: Regular sweeping can help prevent dirt and debris from accumulating and causing gaps.
- Refinish regularly: Regular refinishing can help prevent wear and tear on the floor.
Conclusion: How to Repair Gaps in Hardwood Floors
Repairing gaps in hardwood floors might seem daunting, but with these step-by-step methods, you’ll be able to fix them in no time. By understanding the causes of gaps, preparing for the repair process, and choosing the right method, you can restore your hardwood floor to its former glory. Remember to prevent gaps in the future by maintaining a consistent humidity level, sweeping regularly, and refinishing as needed. So the next time you notice gaps in your hardwood floor, you’ll know exactly how to repair gaps in hardwood floors.