How to Repair Window Shades: A Step-by-Step Guide
=====================================================
Hey there, folks. Are you tired of dealing with broken window shades? Well, you’re in luck because today we’re going to tackle the subject of how to repair window shades. Whether you’re a DIY enthusiast or just a homeowner looking to save some cash, this article has got you covered.
Why Repair Your Window Shades?
Before we dive into the nitty-gritty of how to repair window shades, let’s talk about why it’s a good idea to repair them in the first place. Here are a few reasons:
- Save money: Replacing window shades can be expensive, especially if you have a lot of windows. By repairing them instead, you can save some serious cash.
- Conserve energy: Broken window shades can let heat escape, which can increase your energy bills. By repairing them, you can keep your home warm in the winter and cool in the summer.
- Improve safety: Broken window shades can be a safety hazard, especially if they’re dangling from the window or have sharp edges. By repairing them, you can create a safer environment for you and your family.
Gathering Your Tools and Materials
Before you can start repairing your window shades, you’ll need to gather the necessary tools and materials. Here are some things you’ll need:
- Screwdriver: A screwdriver is essential for removing the shade from the window and accessing the mechanisms inside.
- Pliers: Pliers can be used to grip small parts and bend them back into shape.
- Glue: If you need to reattach a part, you’ll need some glue to hold it in place.
- Replacement parts: Depending on what’s broken, you may need to replace some parts. You can usually find these at a hardware store or online.
How to Repair Window Shades: Step-by-Step
Now that we’ve covered the basics, let’s dive into the step-by-step guide on how to repair window shades. Here’s what you need to do:
Step 1: Remove the Shade
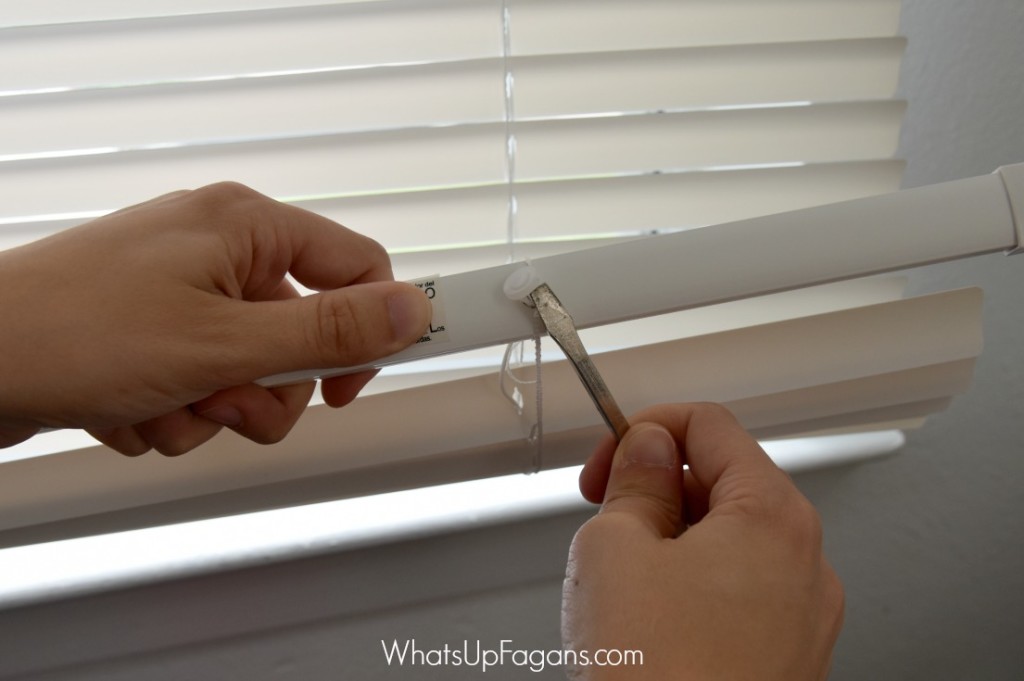
The first step in how to repair window shades is to remove the shade from the window. This will give you access to the mechanisms inside. To remove the shade, follow these steps:
- Find the screws: Look for the screws that hold the shade in place. These are usually located at the top or bottom of the window.
- Remove the screws: Use your screwdriver to remove the screws. Be careful not to strip them, as this can make them difficult to remove.
- Gently pull: Gently pull the shade away from the window. This should release it from its brackets.
Step 2: Identify the Problem
Now that you’ve removed the shade, it’s time to identify the problem. Here are a few common issues you might encounter:
- Broken slats: If one or more of the slats is broken, you’ll need to replace them.
- Cord issues: If the cord is broken or tangled, you’ll need to repair or replace it.
- Gear problems: If the gear that turns the shade is broken, you’ll need to replace it.
How to Repair Window Shades: Fixing Broken Slats
If you’ve identified that the problem is a broken slat, here’s what you need to do:
Step 3: Remove the Broken Slat
To remove the broken slat, follow these steps:
- Locate the broken slat: Find the slat that’s broken and identify how it’s attached to the rest of the shade.
- Remove the screws: Use your screwdriver to remove the screws that hold the slat in place.
- Gently pull: Gently pull the slat away from the rest of the shade. This should release it from its brackets.
Step 4: Install a New Slat
To install a new slat, follow these steps:
- Take the new slat: Take the new slat and attach it to the rest of the shade using the screws you removed earlier.
- Tighten the screws: Use your screwdriver to tighten the screws and secure the slat in place.
How to Repair Window Shades: Fixing Cord Issues
If you’ve identified that the problem is a cord issue, here’s what you need to do:
Step 5: Remove the Cord
To remove the cord, follow these steps:
- Locate the cord: Find the cord that’s broken or tangled and identify how it’s attached to the rest of the shade.
- Remove the screws: Use your screwdriver to remove the screws that hold the cord in place.
- Gently pull: Gently pull the cord away from the rest of the shade. This should release it from its brackets.
Step 6: Install a New Cord
To install a new cord, follow these steps:
- Take the new cord: Take the new cord and attach it to the rest of the shade using the screws you removed earlier.
- Tighten the screws: Use your screwdriver to tighten the screws and secure the cord in place.
How to Repair Window Shades: Reassembling the Shade
Now that you’ve fixed the problem, it’s time to reassemble the shade. Here’s what you need to do:
Step 7: Reattach the Shade
To reattach the shade, follow these steps:
- Locate the brackets: Find the brackets that hold the shade in place and identify how they’re attached to the window.
- Reattach the shade: Use your screwdriver to reattach the shade to the brackets.
- Tighten the screws: Use your screwdriver to tighten the screws and secure the shade in place.
How to Repair Window Shades: Final Check
Now that you’ve reassembled the shade, it’s time to do a final check to make sure everything is working properly. Here’s what you need to do:
- Test the shade: Test the shade by raising and lowering it. Make sure it’s working smoothly and consistently.
- Check for gaps: Check for any gaps or unevenness in the shade. If you find any, you may need to adjust the slats or cord.
How to Repair Window Shades: Troubleshooting
If you’re having trouble with your window shade, here are a few troubleshooting tips to help you identify the problem:
- Check the cord: If the cord is broken or tangled, try repairing or replacing it.
- Check the gears: If the gears are broken or worn out, try replacing them.
- Check the slats: If the slats are broken or damaged, try replacing them.
How to Repair Window Shades: Conclusion
And there you have it, folks. With these steps, you should be able to repair your window shades and get them working like new again. Remember to always follow safety precautions and take your time when working with sharp objects or electrical components.
If you’re still having trouble, you may want to consider consulting a professional for assistance. But with a little patience and practice, you should be able to master the art of how to repair window shades.
How to repair window shades is a valuable skill to have, especially if you’re a homeowner or renter with a lot of windows. By following these steps, you can save money, conserve energy, and improve safety in your home.
So next time you’re faced with a broken window shade, don’t call a professional just yet. Try following these steps on how to repair window shades and see if you can fix it yourself.